Quickstart: Installing Langfuse with Helm on Kubernetes
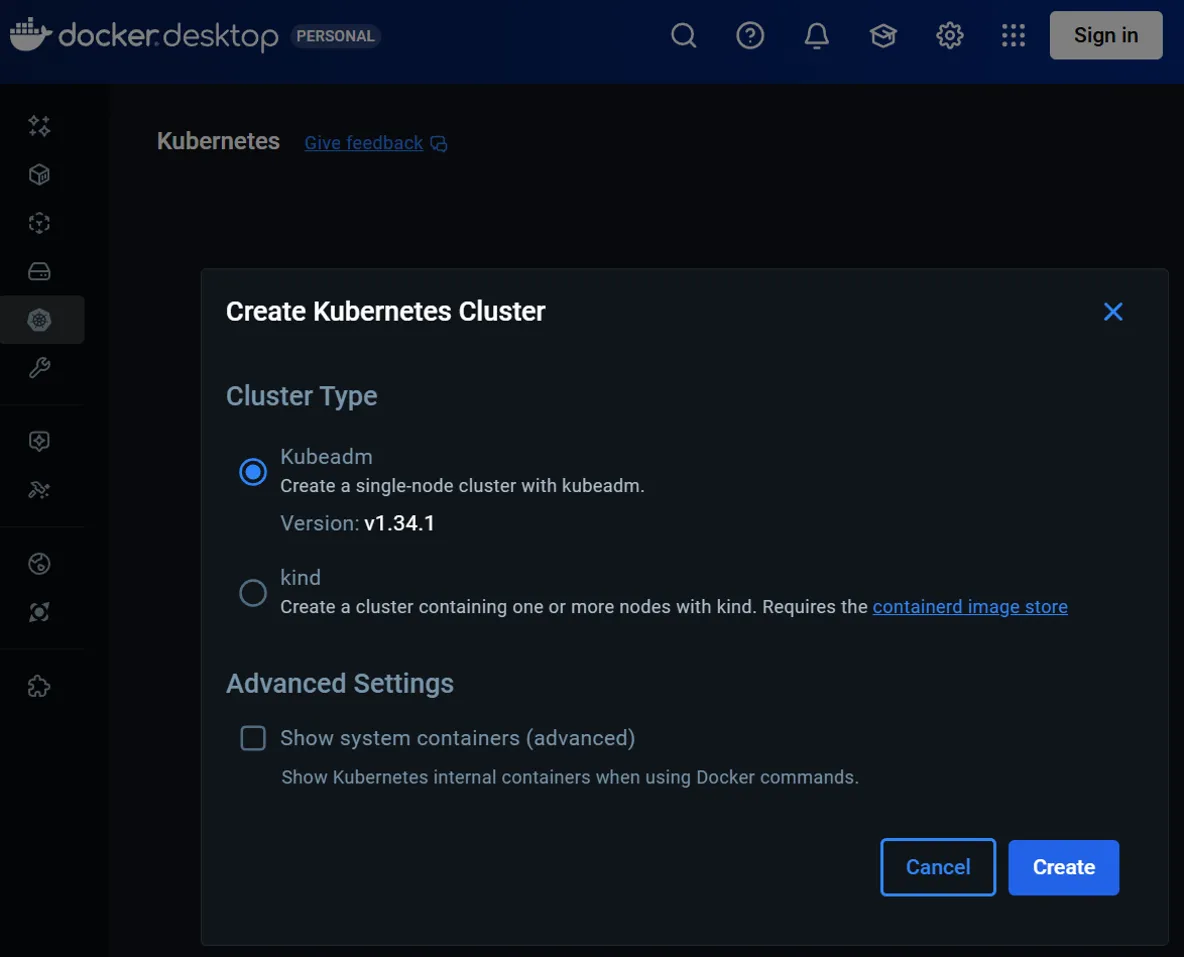
This guide provides a straightforward method for installing Langfuse on a local, single-node Kubeadm cluster using Helm. We'll walk through the entire process from configuration to cleanup.
Step 1: Add the Langfuse Helm Repository
First, add and update the official Langfuse Helm repository to your local setup.
helm repo add langfuse https://langfuse.github.io/langfuse-k8s
helm repo update
Step 2: Configure `values.override.yaml`
Next, create a values.override.yaml file to customize the Helm chart. While the additionalEnv section is optional, including it will pre-configure an initial user and project, saving you from manual setup later. Here is a sample configuration suitable for a local deployment:
langfuse:
  salt:
    value: salt
  nextauth:
    secret:
      value: nextauth-secret
  resources:
    limits:
      cpu: 1
      memory: 2Gi
    requests:
      cpu: 1
      memory: 2Gi
  web:
    pod:
      additionalEnv:
        - name: LANGFUSE_INIT_ORG_ID
          value: 1
        - name: LANGFUSE_INIT_ORG_NAME
          value: example
        - name: LANGFUSE_INIT_PROJECT_ID
          value: 1
        - name: LANGFUSE_INIT_PROJECT_NAME
          value: example proj
        - name: LANGFUSE_INIT_PROJECT_PUBLIC_KEY
          value: pk-lf-3a1ae631-eb38-4b14-ae81-c0adfe517cab
        - name: LANGFUSE_INIT_PROJECT_SECRET_KEY
          value: sk-lf-a4279b11-2c10-4bad-b9a2-a6e967360869
        - name: LANGFUSE_INIT_USER_EMAIL
          value: [email protected]
        - name: LANGFUSE_INIT_USER_NAME
          value: admin
        - name: LANGFUSE_INIT_USER_PASSWORD
          value: password

postgresql:
  auth:
    username: langfuse
    password: password

clickhouse:
  auth:
    password: password
  resources:
    limits:
      cpu: 1
      memory: 2Gi
    requests:
      cpu: 1
      memory: 2Gi

redis:
  auth:
    password: password
  primary:
    resources:
      limits:
        cpu: 0.5
        memory: 1Gi
      requests:
        cpu: 0.5
        memory: 1Gi

s3:
  auth:
    rootPassword: password
  resources:
    limits:
      cpu: 1
      memory: 1Gi
    requests:
      cpu: 1
      memory: 1Gi

zookeeper:
    resources:
      limits:
        cpu: 1
        memory: 2Gi
      requests:
        cpu: 1
        memory: 2Gi
Step 3: Install Langfuse
From the directory containing your values.override.yaml file, run the installation command:
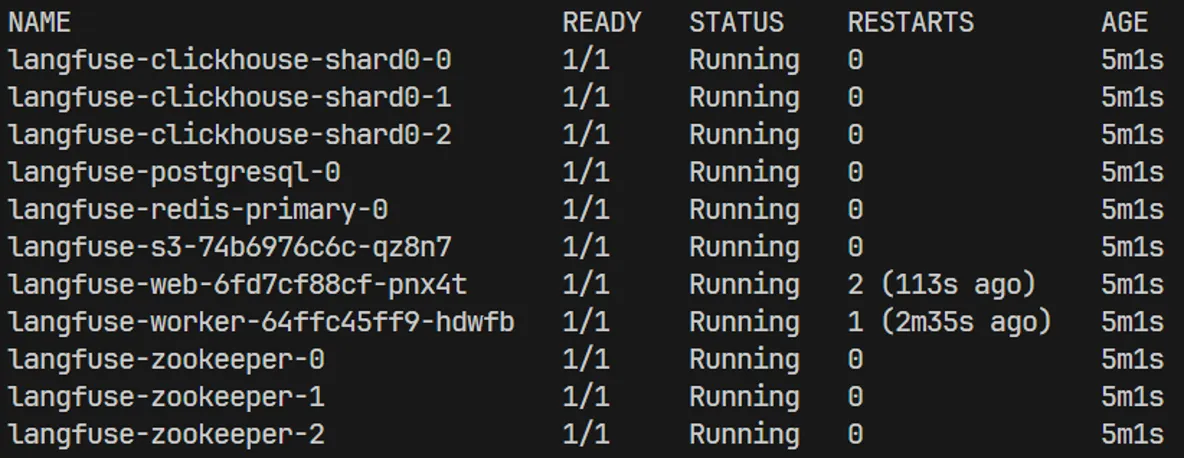
helm install langfuse langfuse/langfuse -f values.override.yamlNow, wait for all the pods to start up. You can monitor their status using a tool like k9s or by running kubectl get pods -w.
Step 4: Access the Web UI
To access the web interface, forward the service port to your local machine:
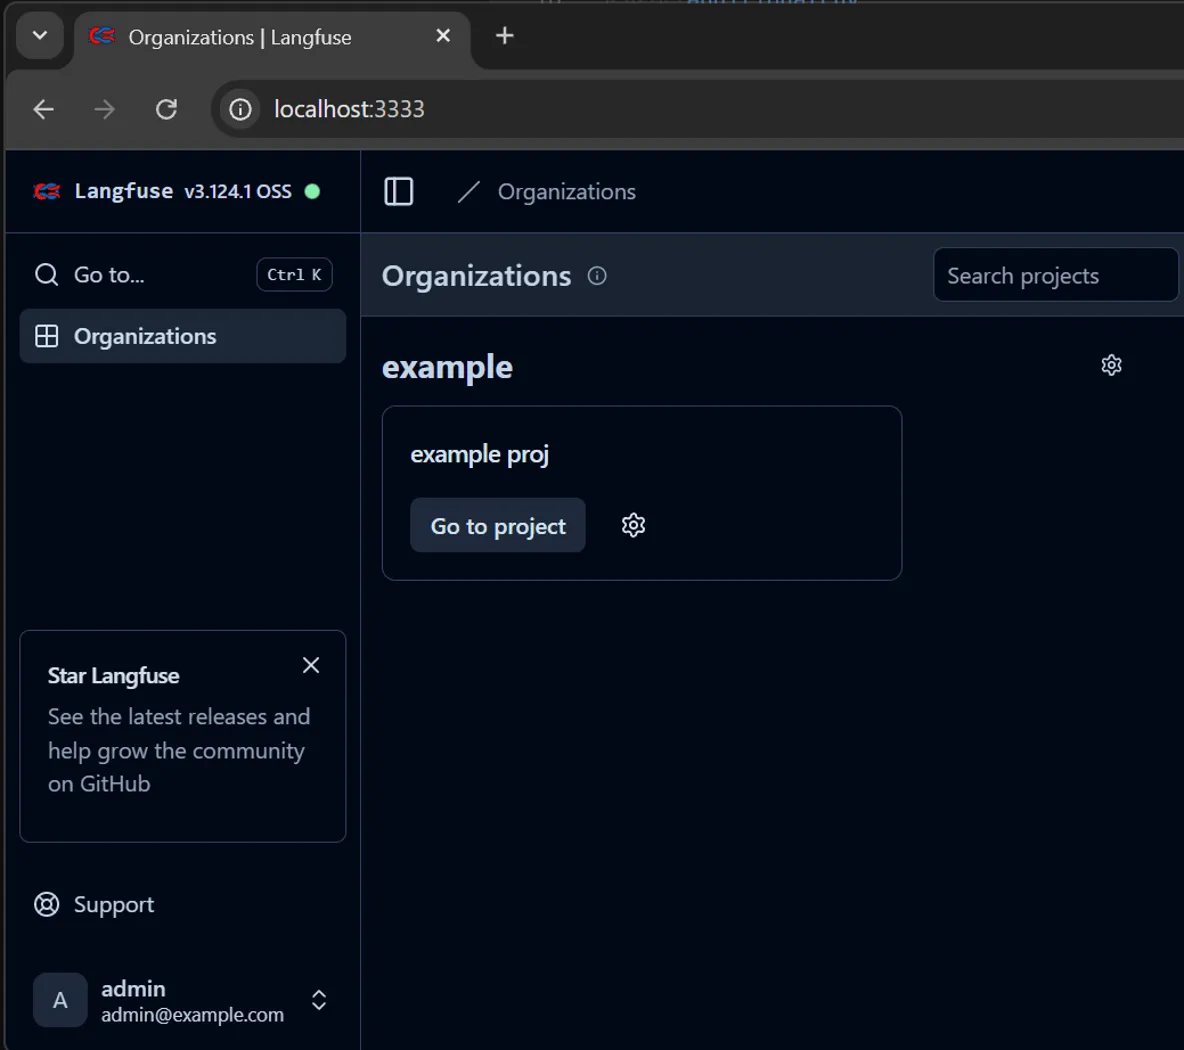
kubectl port-forward svc/langfuse-web 3333:3000Open your browser to http://localhost:3333 and log in using the credentials defined in the LANGFUSE_INIT_USER_EMAIL and LANGFUSE_INIT_USER_PASSWORD environment variables from your configuration file.
Managing Your Deployment
Uninstalling and Cleaning Up
To remove the Langfuse application, run the Helm uninstall command:
helm uninstall langfuseImportant: This command does not remove the Persistent Volume Claims (PVCs). If you reinstall Langfuse, your previous data will persist.
To perform a complete cleanup and remove all associated data, you must also delete the PVCs:
kubectl delete pvc -l app.kubernetes.io/instance=langfuseTroubleshooting: ClickHouse Migration Errors
When deploying to a production cluster, you might encounter a ClickHouse database migration error related to a dirty database. While the official documentation offers a solution, a simpler fix can sometimes be effective:
A quick (but destructive) fix is to completely uninstall the application, including the PVCs, and then reinstall it. It may take a few attempts for the migrations to apply successfully and for all pods to start cleanly.